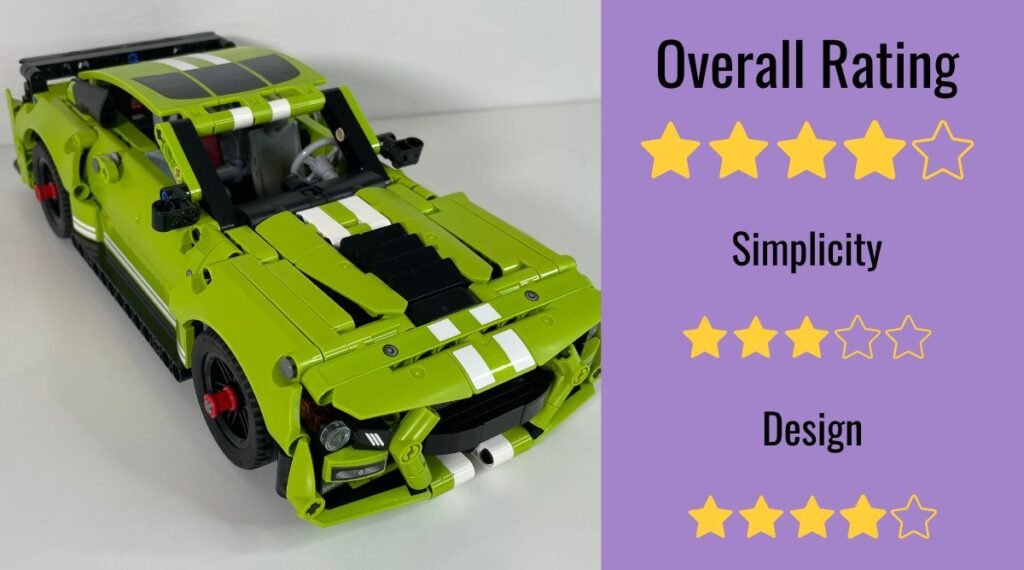
Verdict
The 42138 Lego set has 544 pieces at a price tag of $49.99 at MSRP. This pieces is a fun set to display and play with. It has a built in pull back feature that gives extra playability, especially for kids. This set isn’t incredibly hard to build, but as a Technic set, it does have some building techniques that are slightly difficult to follow. This set takes about 2 hours to build from start to finish, but be careful to make sure you’re using all the right pieces.
Pros

Playable (Pull back and go style engine)

Well designed
Cons

Full playability requires alternating the build and removing pieces

No steering wheel control or moveable doors
42138 Ford Mustang Shelby GT500 Lego Set Details
| Set Number | 42138 |
| Price (MSRP) | $49.99 |
| Number of Pieces | 544 |
| Recommended Age | 9+ |
| Dimensions | 10.5 x 4.5 x 3 in. |
| Release Date | January 1, 2022 |
Join the Newsletter!
Get Lego News, Deals, and Updates delivered right to your inbox from me!
[wpforms id=”681″]
Box and Packaging
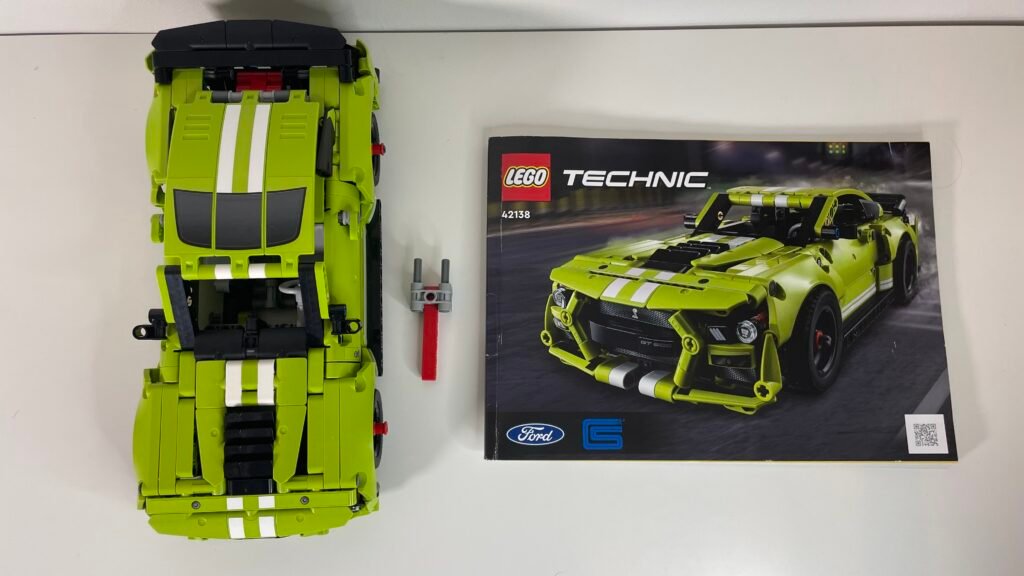
Because I bought this set off of a guy on Facebook marketplace as a bundle of technic cars, unfortunately I received them already built, stickers added, but I did get the physical instructions included.
However, I was able to find this in store and I took a few pictures of the box so you can see the full review.

The box is very standard to the other boxes for the Lego Technic cars, but it does add some interesting advertisements. This car features a pull back and go mechanism and an AR app compatability which are both shown on the box.
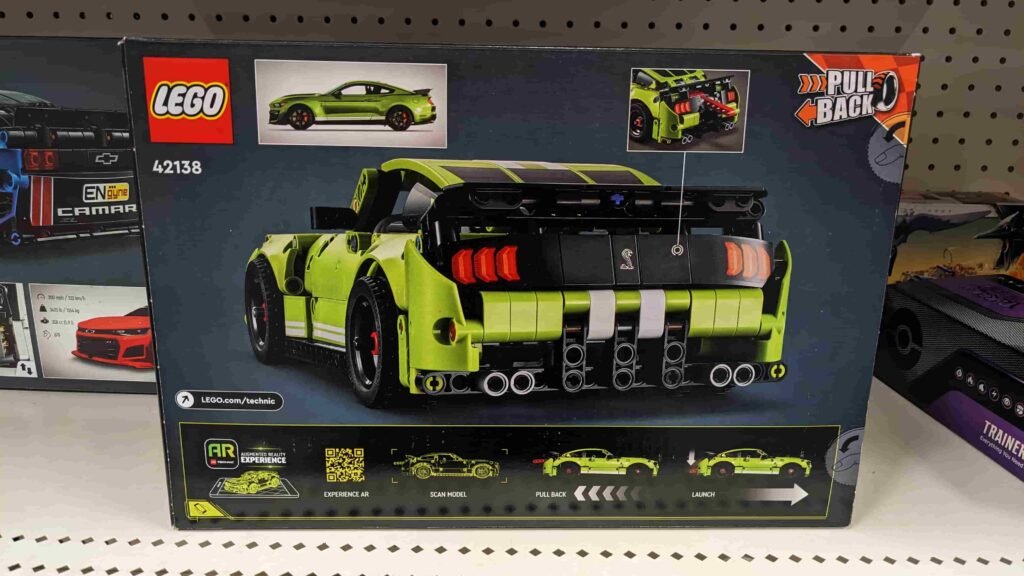
It does try to show that there are multiple options for the build for playability and display, but it doesn’t really make it clear what this piece does and why there are multiple options.
Inside the box there are two stages of builds, one that is focused on the structure of the car, and the second part focuses on the external details of the Ford Mustang.
Build Process
As said before the build process to this Technic car are slightly different than what would be experienced when the set is bought new. This is because I did not receive the box unopened. Upon purchase the cars were already built, with stickers applied, so there was no box or bag.
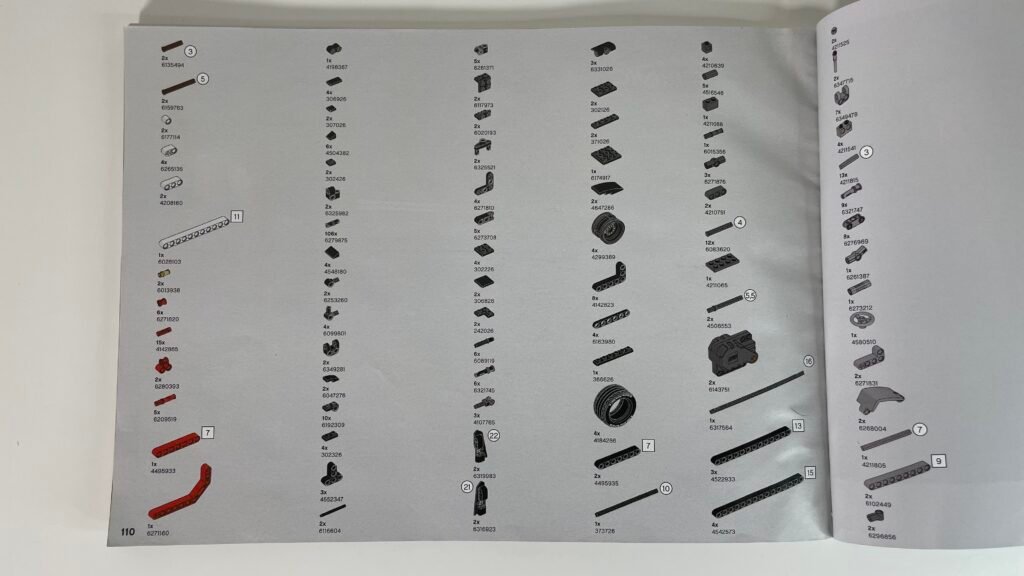
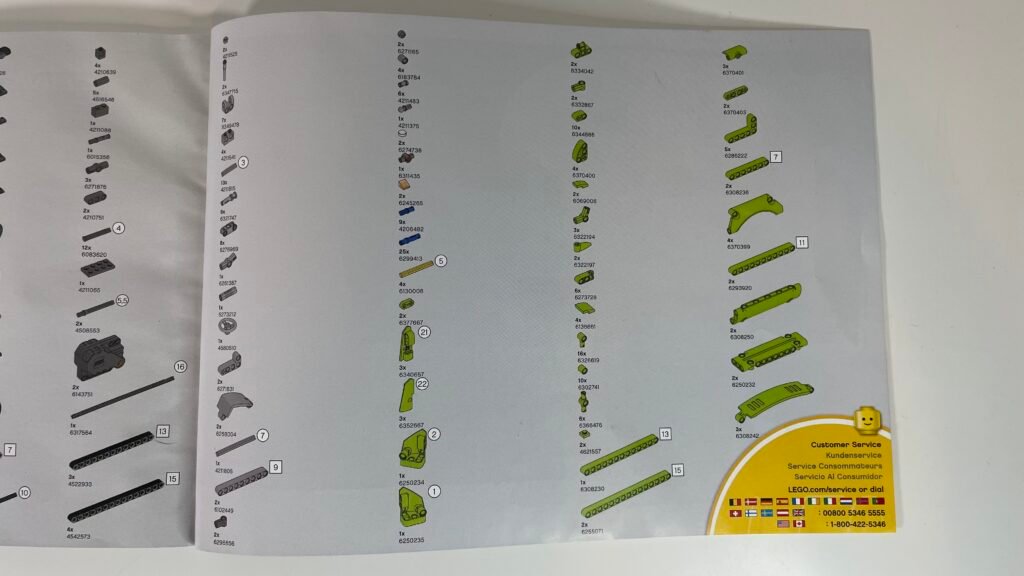
Before we go into the actual build process, you can take a look at the pieces required for this build from the instruction manual below. Almost all of the pieces were technic pieces of some kind, there were very few plates or common classic pieces.
42138 Ford Mustang Shelby GT500 Lego Pieces
Build Review 42138 Ford Mustang
The Ford Mustang Shelby GT500 Lego Set 42138 took about 2 hours to build (without adding stickers).
This was my first official technic build. I previously had some experience with technic pieces, but never actually had a full instructed build to guide me.
What I learned from this is that the directions for Technic, more so than classic, builds are sometimes more difficult to understand. Because there are a lot of holes and various pieces that fit into these slots, I found myself making a couple mistakes of either using the wrong piece or aligning the piece into the wrong slot.
One place in particular I made this mistake was with the door handle. Being somewhat unfamiliar with Technic pieces, I confused two very similar looking pieces. This small piece required needed two axle receivers, but I mistook the directions for the very similar looking piece that had both an axle receiver and a pin receiver. (6377667 vs 6344866)
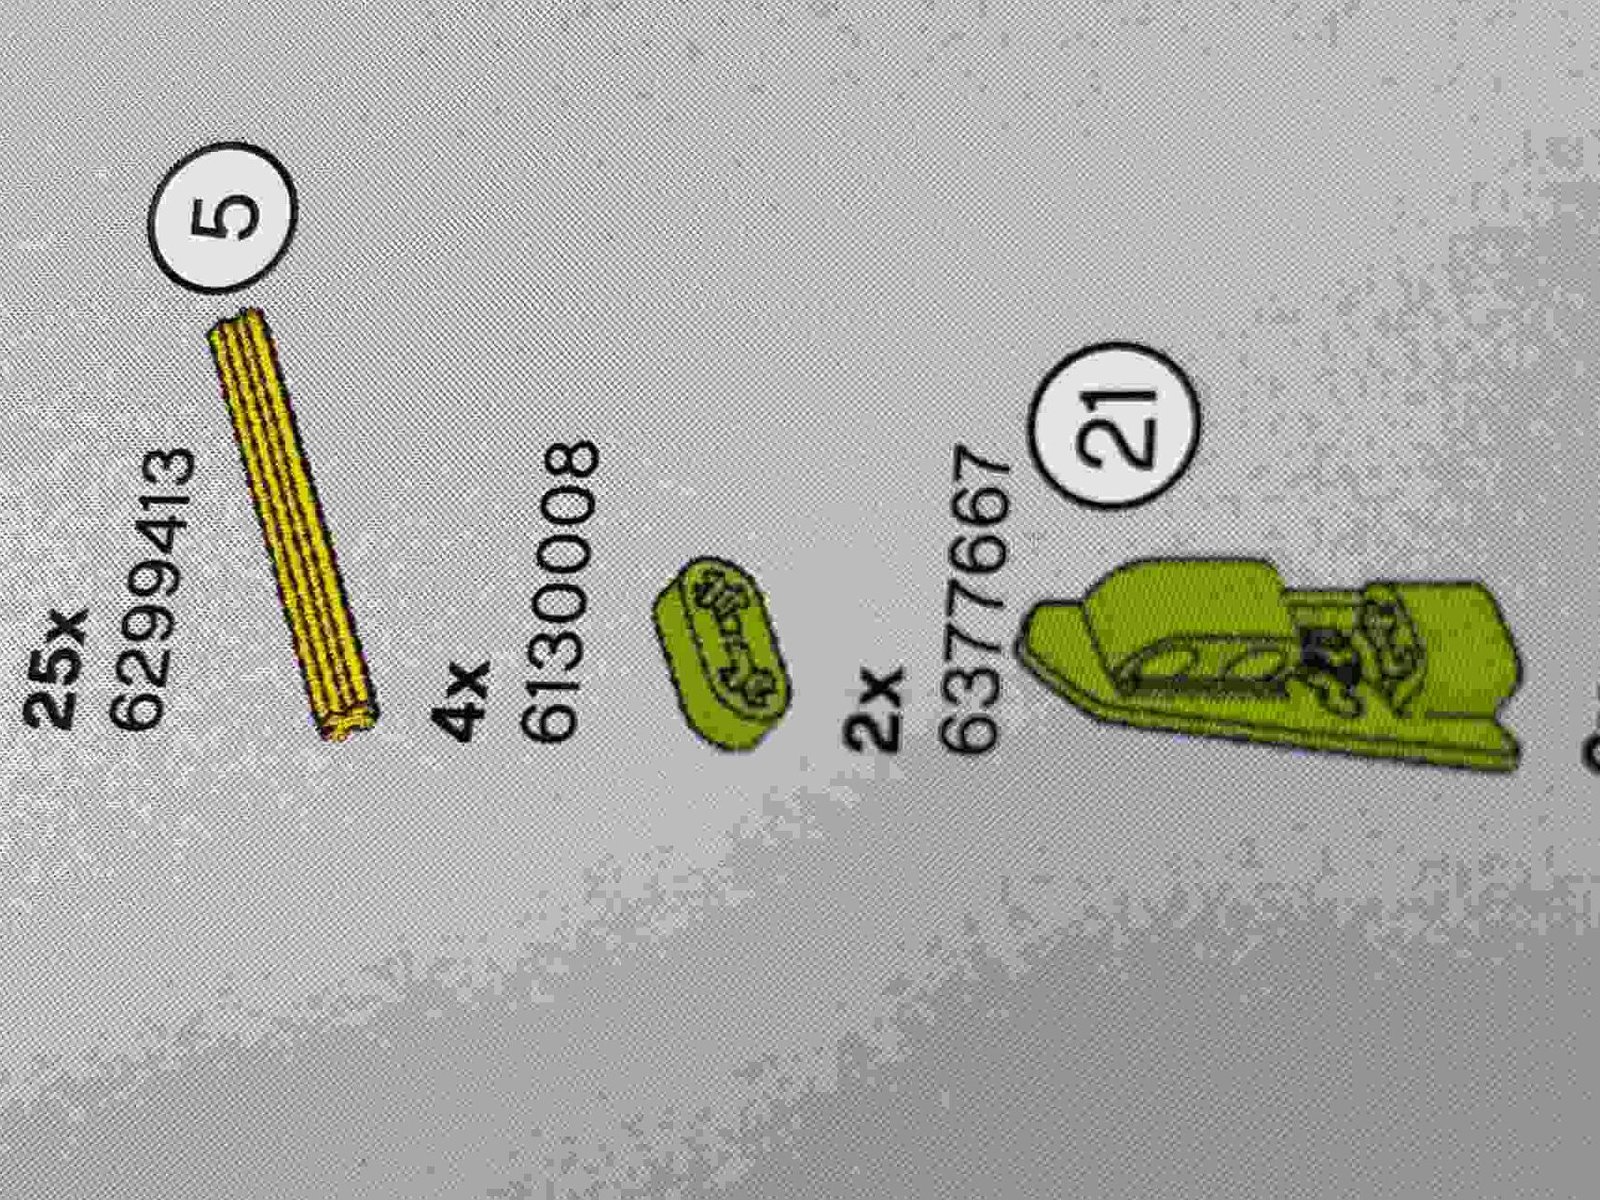
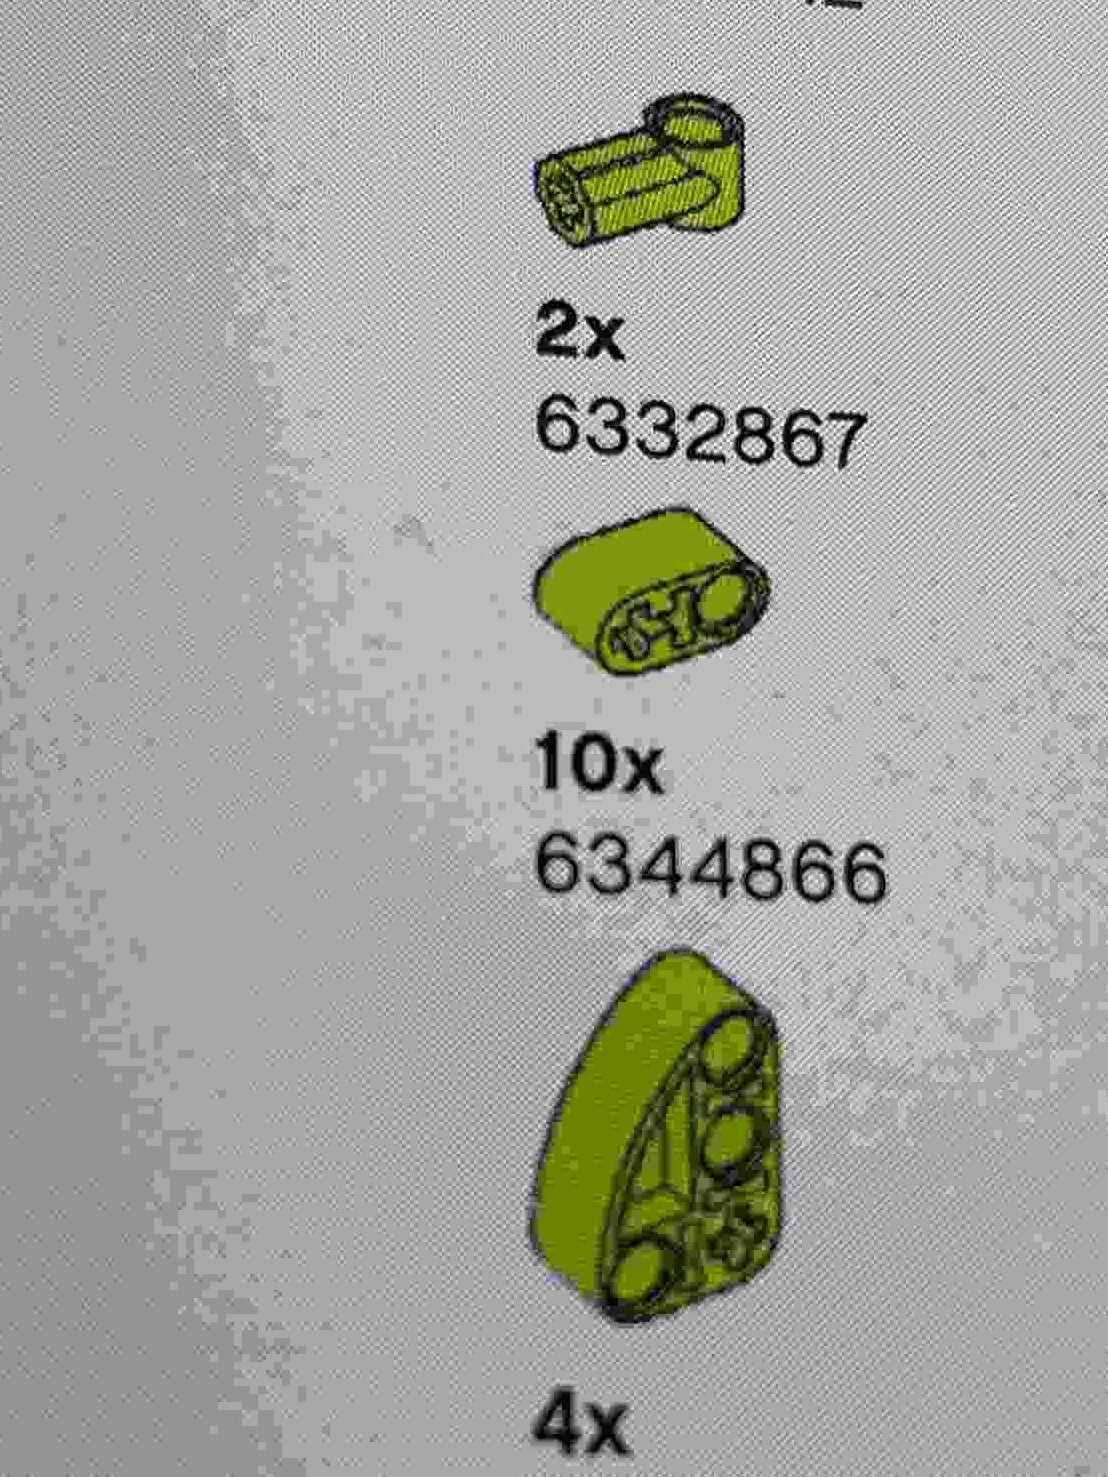
This mistake is in part due to my inexperience, but it is also in part due to the fact that the build still worked and functioned when using these two pieces interchangeably. It wasn’t until later on in the build that I realized I had used the incorrect piece.
Similarly, there was a bigger mistake where I mixed up the two pieces. In this set there are two red type pin/axle connectors. One is very short that is entirely an axle with grooves (4142865). The other piece is a bit longer of a piece that is also red, but has one end as a long pin, and the other has the axle (6209519).
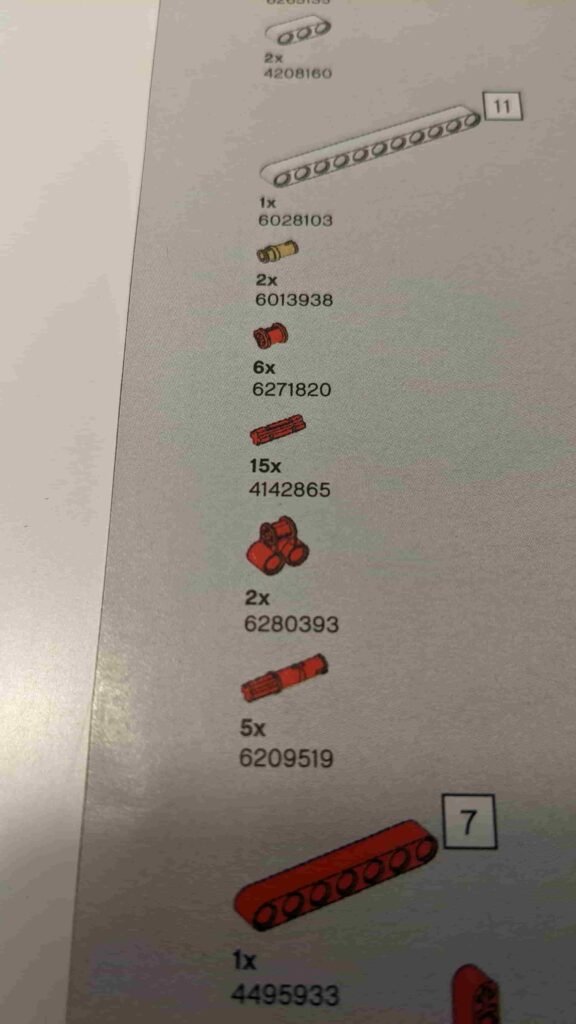
Again what made this mistake difficult is that the build looked, felt, and functioned exactly the same. This mistake was much harder to fix as I didn’t notice this error until the last few pages of the build and the error part was placed within the inner structure of the Mustang.
Other than the mistakes I had made, the build itself wasn’t all the difficult. Because there isn’t much function to the Mustang other than the pull back feature, there weren’t many mechanisms and unique building patterns to note.
Recently I’ve seen some errors in Lego booklet instructions, and this build is no different.
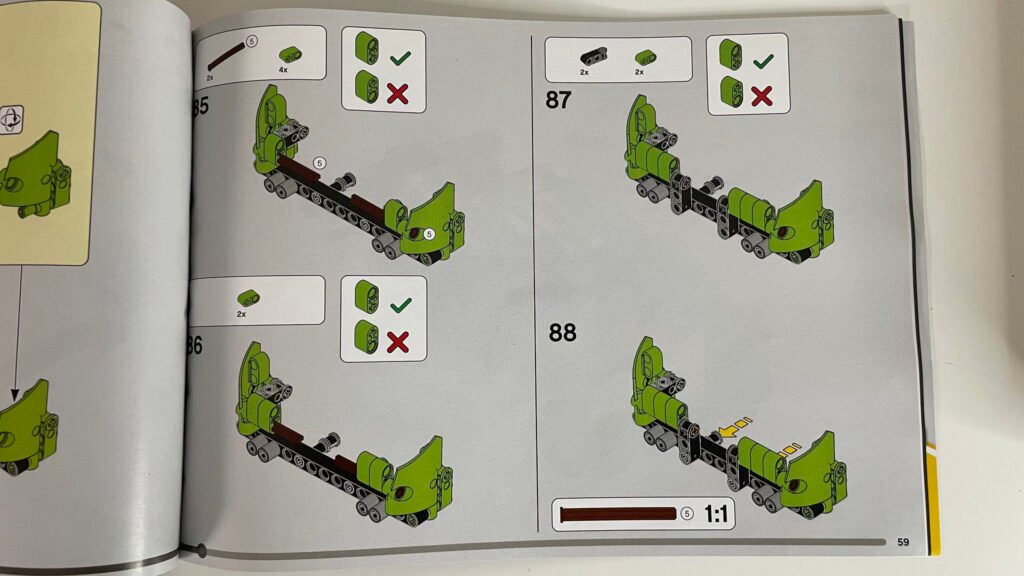
From what I could notice, there was only one error in the book on page 59 on step 85. In the instructions it tells you to use 4 of the little green pieces when in fact only 2 are required at that step (see image below).
That last thing to note about the build is that there are technically two builds provided in the instruction booklet. There is the playable build (with the release lever) and the standard build).
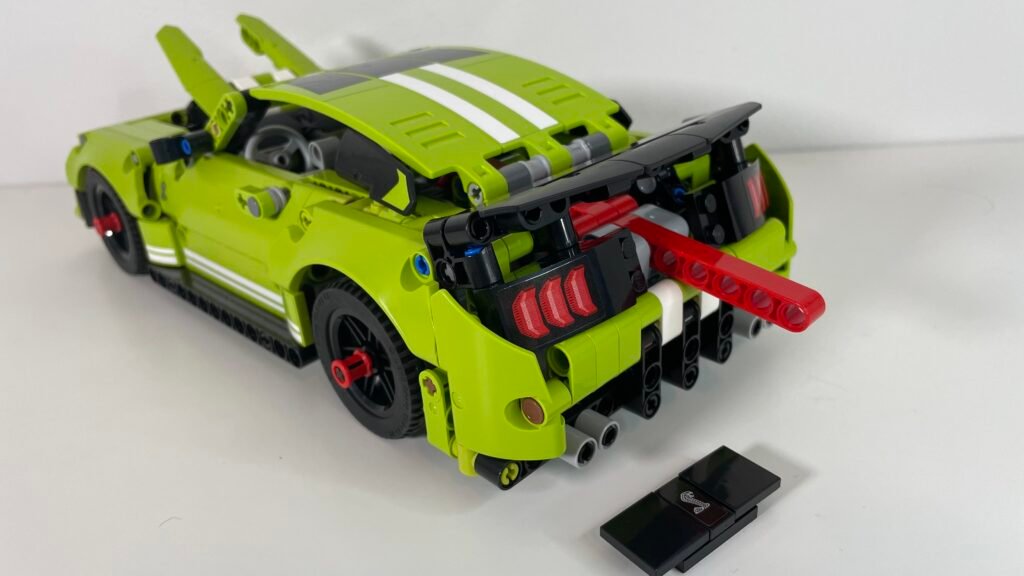
The way the build walks you through the process is to first install the playable lever in the back, which honestly looks really weird, and then on the last few pages remove it and install the actual back bumper/tailgate.
I wish there was some better explaination of this additional lever piece because when I built this, I thought that this pieces was just temporary to hold some components in place.
Design and Features
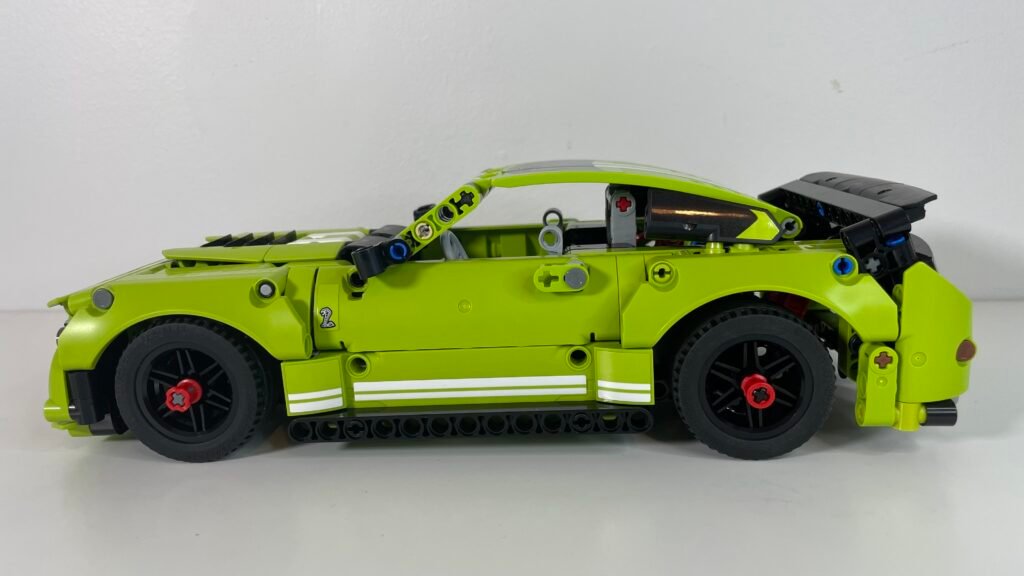
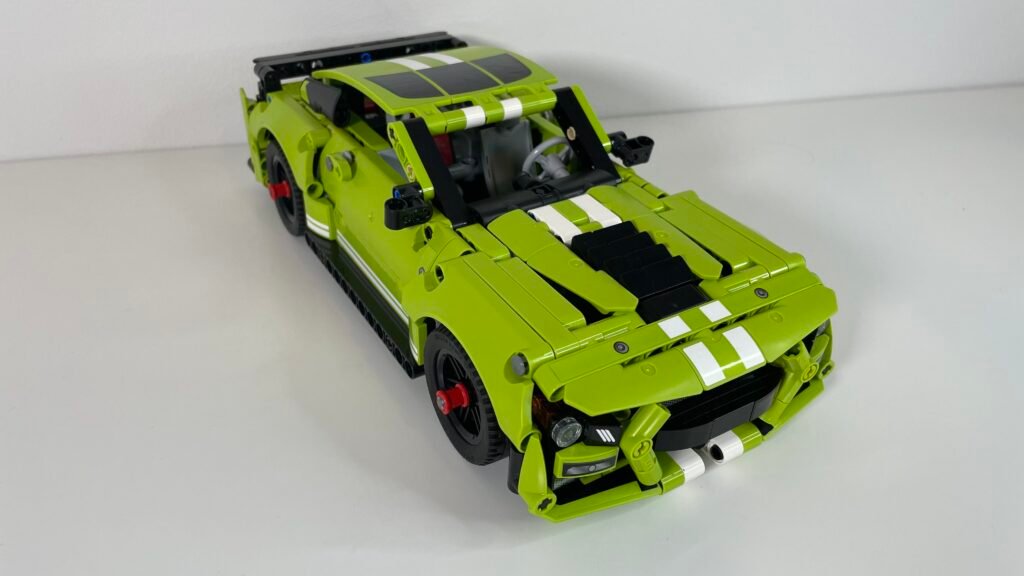
When evaluating the design, with this being my favorite color, it is hard to say it looks bad. Honestly I think the design is really good. I think Lego did a great job creating pieces that would shape the vehicle really well. Looking at some other Technic car builds, there are fewer exposed pieces, which for the sake of displaying are actually really nice.
Looking at the rest of the features, there are stickers as accent on the front, back and side, and then stickers represent the rear lights, which I’m not a huge fan of personally.
The rear lights and spoiler are all attached but they don’t seem to lock into place very well. When I first installed this portion of the build, I pushed the spoiler in too deep and the back bumper covered the lights. This is something to keep in mind when building. The spoiler should be at an angle when installed.
As for the moveable features, I am disappointed that the doors do not open and close. It seems that many of the Technic cars have this feature and I personally think it is really cool. However, I think this build may not have opening doors because of it’s playable feature. Because the Lego set is designed to be played with a pull and go feature, they don’t want to risk doors coming off.
The hood, though, does lift up. It doesn’t really expose anything exciting beneath the surface, but it is a moveable piece that allows you to display the car in a different way.


Another piece that is moveable is the side mirrors. These are not locked into place so they can be flipped around 180 degrees.
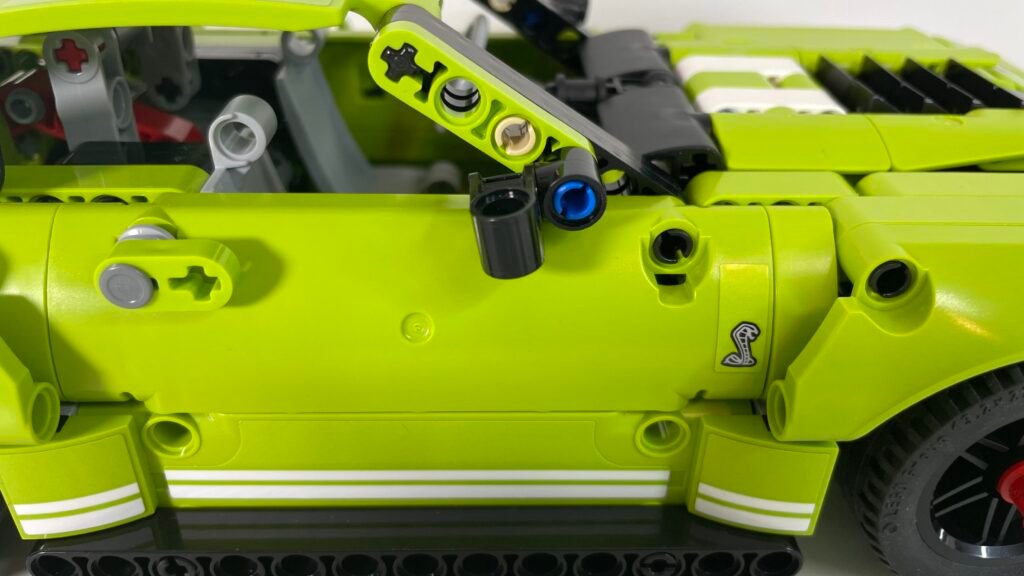
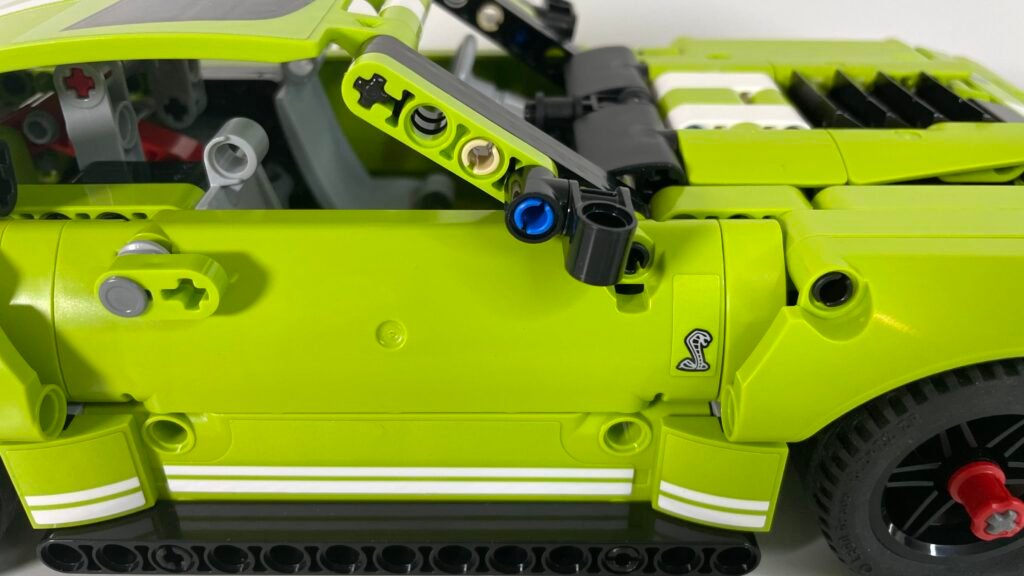
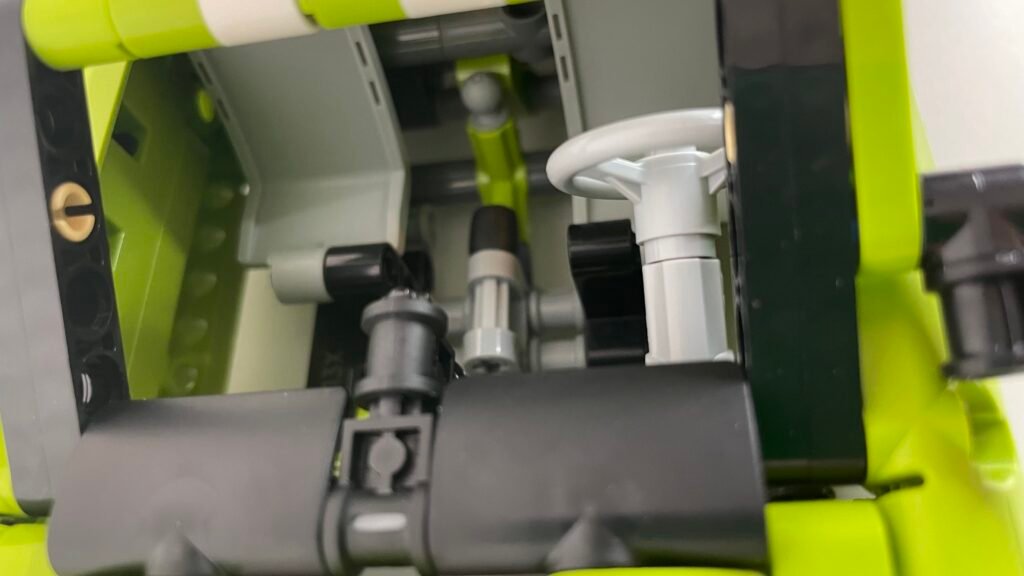
When it comes to the actual playability of the build, it is pretty cool to play with. The first thing I will note, whether you are using the pull back feature or not, is to make sure that there is enough room for the wheels to rotate. When I first made the build I pushed in the red pieces (shown below) too far towards the wheel that prevented them from moving at all.
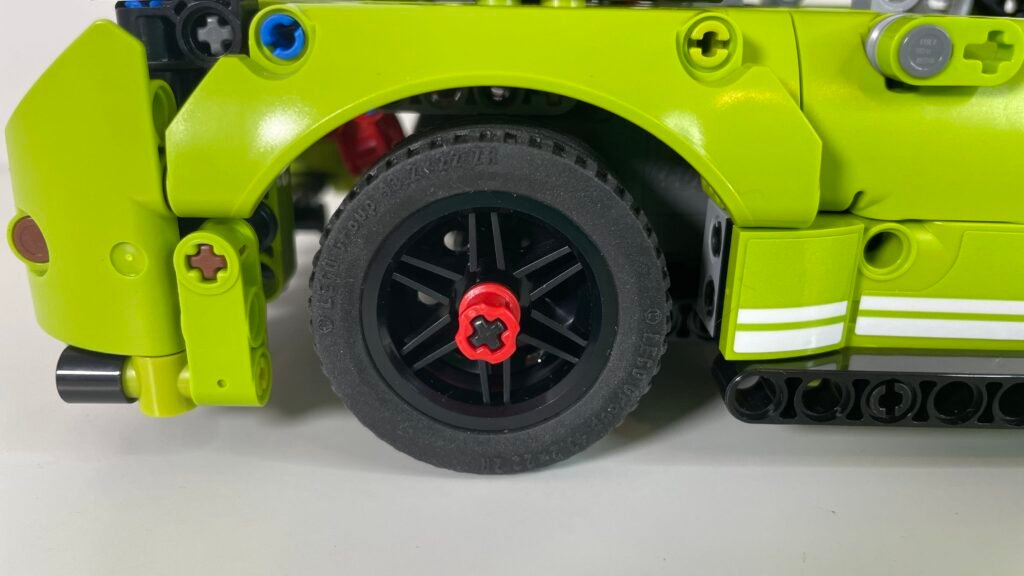
As described, the pull back feature works like the old toy cars that charge when you pull back and this causes the car to move forward. This mechanism is built into the “engine” so there is no mechanical building for this.
The pull back feature works all the time and there is no way to shut it off. The red tab that sticks out the back can be replaced with regular plates. When switching out these pieces I found it very difficult to do. In order to add the red piece, you need to remove two parts on the build. And then to put those pieces back was found to be very hard, at least for me. It’s just a tough angle.
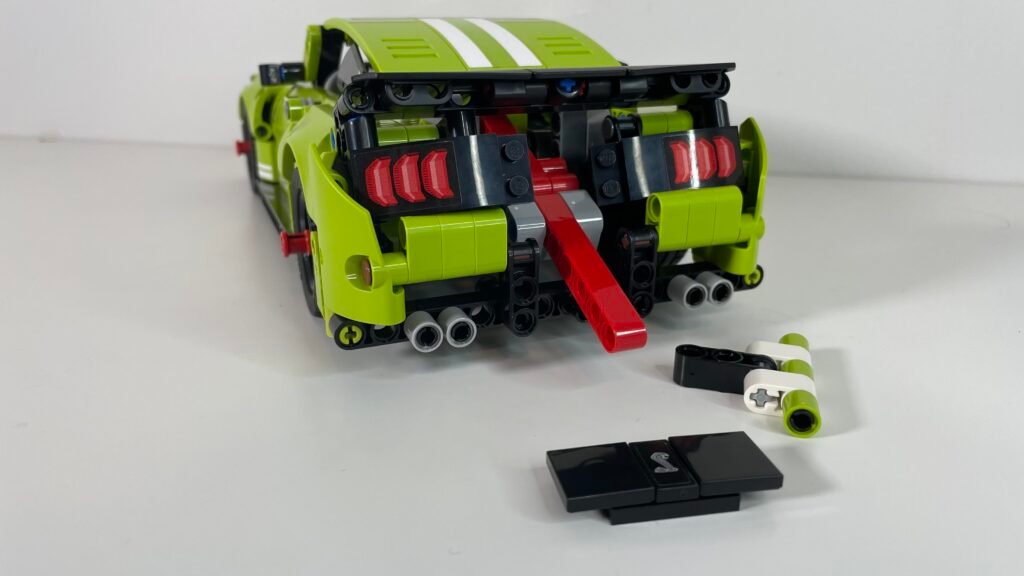
The purpose of the red tab is that you can charge up the engine with multiple pull backs and then release it by pushing this lever down. I’d love to test how fast this could actually go when charged to it’s max.
Lego Ford Mustang vs Real Ford Mustang
Comparing the Ford Mustang Lego Set 42138 to the real thing, we will use this image as comparison. Upon a quick look, it seems to be quite accurate to the real thing.

The Lego pieces on the front match the hood scoop on the real thing. The angled pieces really make it feel like the real thing.
As you can see, there are iconic stripes on both vehicles, which are created using a mixture of stickers, pieces, and pre printed pieces.
The biggest complaints I have about the accuracy are the height of the vehicle and the front grill. It seems that the Lego set could be slightly lower to the ground. And the front grille is kind of strange compared to the grille on the real Mustang. On the Lego set, there are these angled technic pieces that surround the grill to create the curved shape of the real thing, but I just don’t think it fits incredibly well. In addition, the labeled part on the Lego Mustang seems a bit too thin compared to the original Mustang.
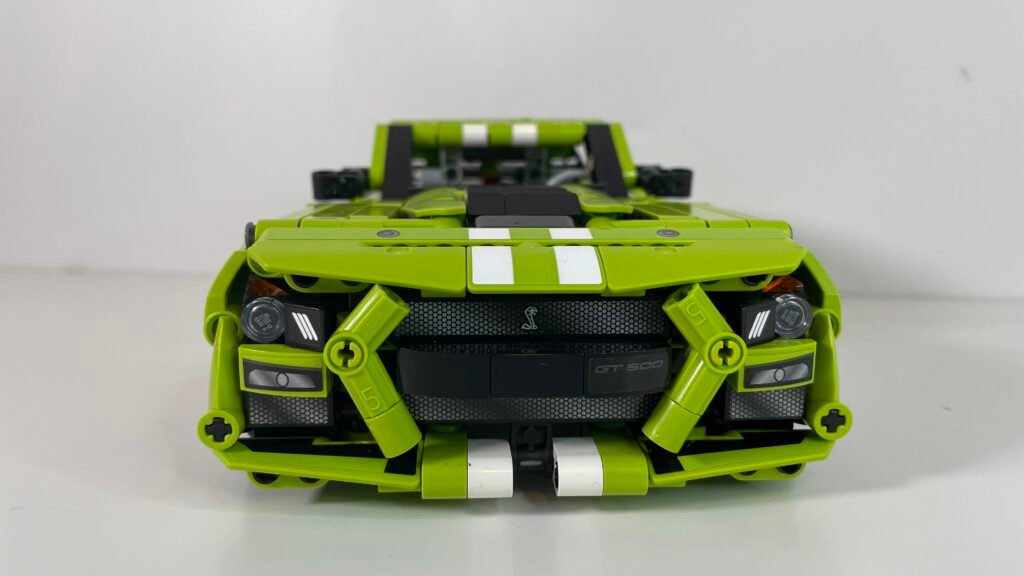
Overall, however I think this set is still pretty good at matching the real thing. Also this is the only image I could find that I was freely able to use, so this build might better match another version of the Shelby Mustang GT500.
Conclusion
As a big fan of how the Lego Technic cars look, I think this one may be my favorite for a while. The color of this set is my favorite color ever and the design is very nice to display.
The Lego set 42138 Ford Mustang Shelby GT500 is definitely worth the price if you are a fan of Lego Technic or cars. It is not too big either on the shelf as a display piece and for kids, the pull back feature is really fun to play with.
What I Liked:
- Color/design
- pull back feature
What I Disliked:
- too many similar pieces
- some inconsistent/unclear directions
- replacing the pull back lever and rear bumper/trunk

42138 Ford Mustang Lego Set Pictures
